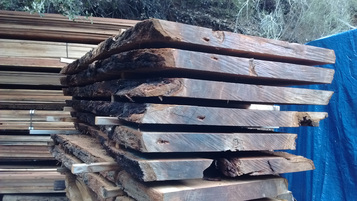
This is where I stepped into the project. The Clients cut up an old redwood tree that fell across their driveway. They had it cut into 8.5foot sections and then kept the lowest cut for themselves. They had that log stored in a slab yard in Ben Lomond to dry for a year. Then the contractor, Tony, and I heaved the slabs around, sorting out the ones which were ours and drove them back to my shop for an initial milling.
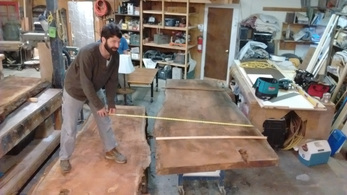
Here you can see Tony measuring slabs. We picked the best 5 slabs and then used his big foot circular saw and cut up the rest of the slabs for bed frame, drawer and side table parts.
The slabs then took a ride with Tony to the kiln in Watsonville and underwent two drying rounds. They were brought back to my shop but before the real work began I did something else.
The slabs then took a ride with Tony to the kiln in Watsonville and underwent two drying rounds. They were brought back to my shop but before the real work began I did something else.
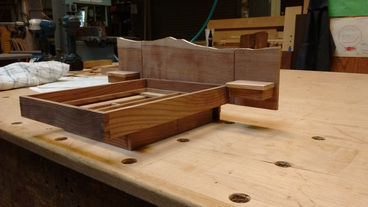
I made a 1/8th scale model to get all the design details right. It worked and it was so cool the clients wanted the model when the bed was completed.
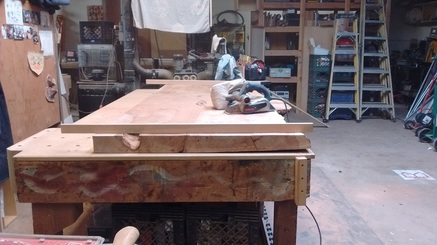
The slabs were sorted and cut to rough length. Then they were flattened with an electric hand planer. I used age old techniques in this process because the slabs were simply too large to do anything else. I used twining sticks to get the twist out of the slabs. The photo to the left shows this step with the twining stick and the electric planer on top of the slab. If you look closely you can see how much twist there was in the slabs by looking at the right bottom of the closest edge. The black space between the table and the slab gives you a good idea.
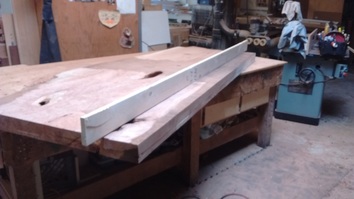
I then planed them flat across the length using a flat board on edge. I worked only one side of the slab because the second side would be taken care of with the time saver. Here you can see the board used to flatten the slab lengthwise.
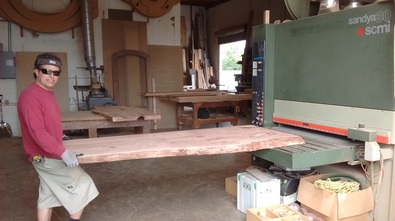
The time saver is a large belt sander that can flatten any wood item really fast, hence the name. I placed the slabs flat side down and the belts flattened the second side for me. Then we cleaned up the side I flattened and Vwala the slabs were flat and sanded mostly clean.
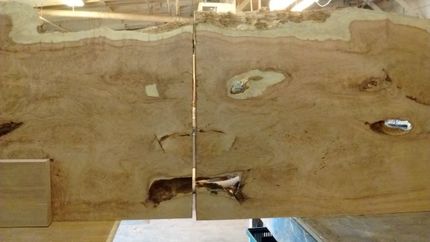
To achieve what the clients wanted in the design we had to make 8.5ft slabs turn into 10.5ft slabs. I managed this by taking the slabs from above and below our chosen slab and flipping them over end for end. I cut them down and attached them to the ends of the best slab. This is called book-matching but is rarely done this way with slabs. The result was pretty awesome accept for one thing. We created a scary jack-o-lantern face that I could not leave as it was. I fretted over this issue for almost a month.
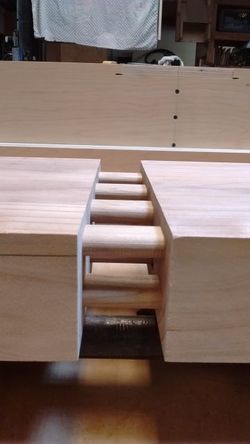
Here is how I attached the slabs to each other. I used many large 5" dominoes creating an industrial strength joint.
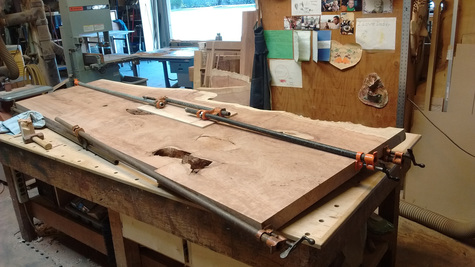
Here you can see I have joined side two creating the Jack-o-lantern face.
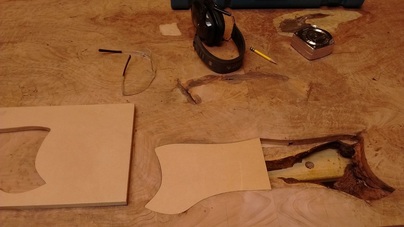
My solution to the jack-o-lantern face? Get rid of the mouth. The mouth was two large holes in the slab combining into a wicked grin. I grabbed my balls and made a patch, routed it out and filled it with similarly active material. To the left you can see the template I made and the patch which fit into it.
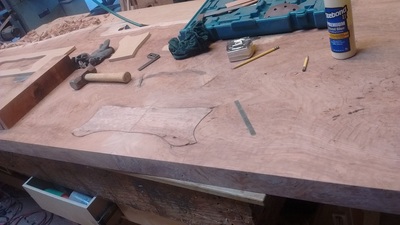
The patch was successful but still looked a little obvious to me. But once I planed it flat and sanded everything it mostly disappeared. I asked the finisher if he could find it and he couldn't so I felt better about that. It also ended up mostly covered by one of the side tables so it was fine.
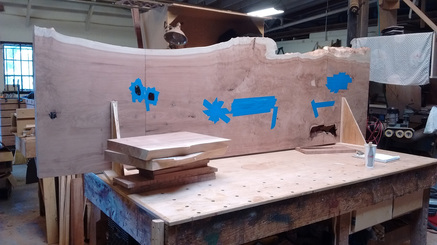
I had to do a lot of epoxy work to fill all the holes and voids in the slab. I finally figured out the best way to do it by the time I was done. Cover A face with blue tape. Flip slab. Fill hole from the back (B Face). Once dry, flip back, peal off tape and lightly sand. It took me a long time to figure this out. The result; no bubbles, perfectly flat, very little work for a nice final finish.
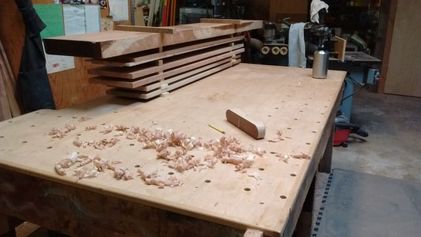
Even though I kept the wood stacked and stickered a few hot days created enough movement that I had to redo some of the flattening.
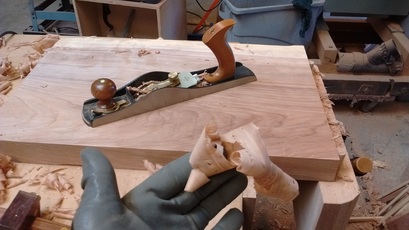
The smaller slabs for the floating side tables were still too large for me to run through my machinery. So again I had to break out the planer, the jack planer this time, and flatten the slabs with sweat and hard work. Both side had to be done this time, Ugh.
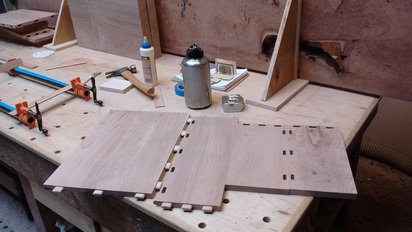
Building the parts for the drawer boxes. I wanted to make them strong, to last, so I built them well and sturdy.
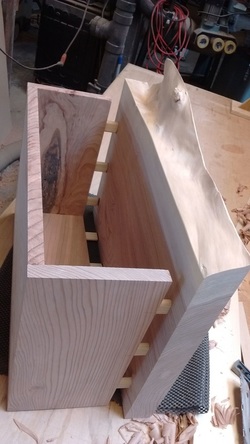
Here you can see the side table box almost complete
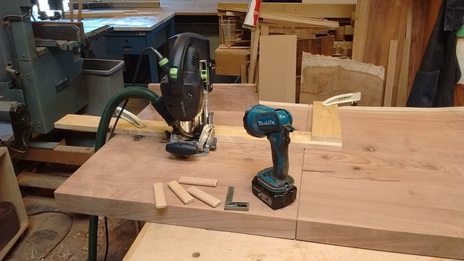
To attach the floating side tables to the slab I had to cut dominoes out in the plain of the slab face. This was a little challenging but with the right jig and the right mind set it came together quickly. It was a little hard to see so I shined some light on the setup.
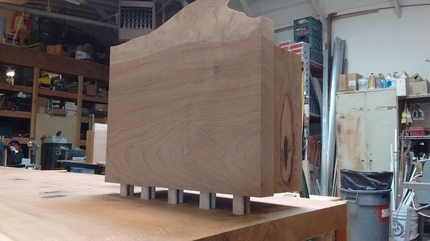
Here is the attachment of the side table. Strong. I also put 4 seven inch lags through the slab into the back end of the top of the side table.
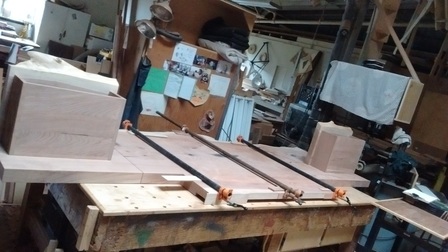
Once the side tables were in place I had to glue the foot on with dominoes in the same way I jointed the slabs together.
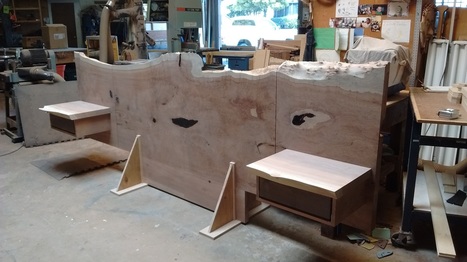
Here is the slab standing up on its foot with brackets to hold it up vertically.
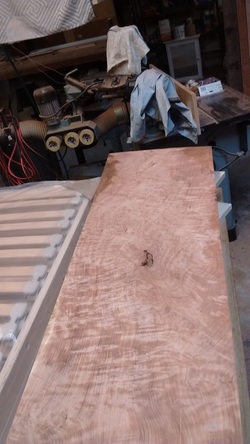
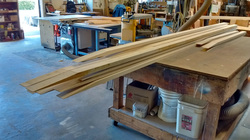
After the headboard was complete I began work on the bed frame. The material I had to start with was amazing. Lots of curly ribboned action.
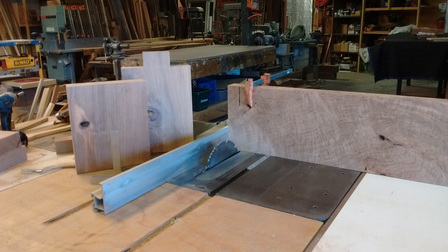
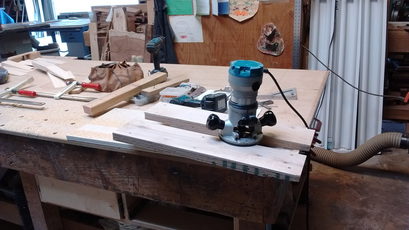
We decided that the corners of the bed frame would have a beefy box joint. Once my parts were milled to size I cut the box joint on the table saw with success.
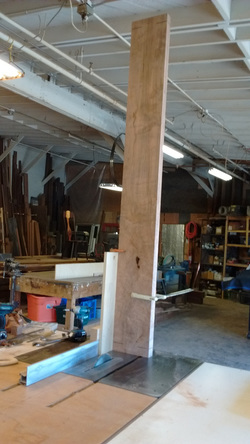
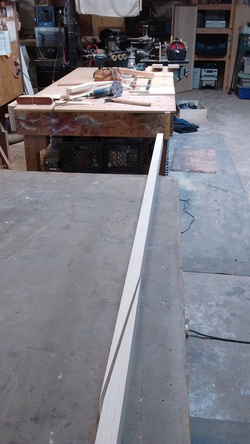
Here is the vertical step of cutting the giant box joint. That jig and clamp were essential.
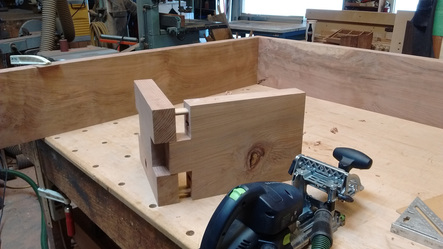
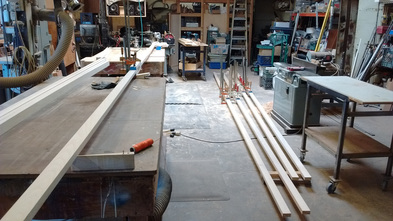
I had to do several test runs with blocks of scraps to get the joint really dialed in. The result was another awesome sample. This picture does a good job if capturing the domino tool in the foreground, the sample joint in the midground and the real joint in the background.
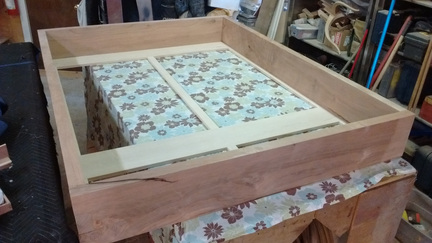
Here is the Bed Frame with maple support structure underneath. There was going to be a slat system to hold the mattress and this needed support within the bed frame. Also the bed frame was going to sit atop a drawer box frame but the front end of the bed was going to be floating out 18 inches. Hence the maple support near the end.
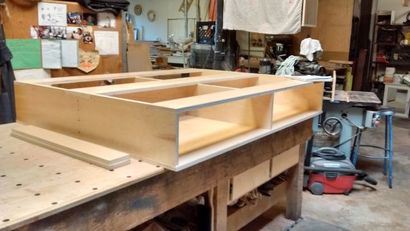
This is the cabinet carcass that will house the 4 large drawers that pull out from under the bed.
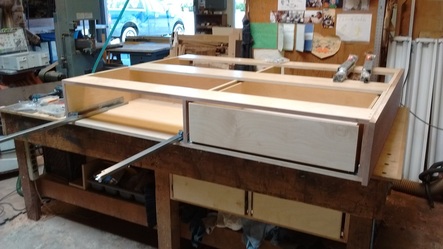
Here is the cabinet carcass with the fancy drawer slides and drawer boxes.
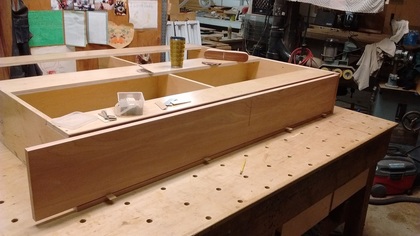
Since I had plenty of redwood I chose to use a continuous Board for the drawer Fronts on each side. Here you can see the setup and the spacers under the drawer face.
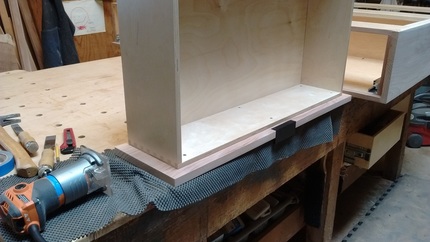
Once the drawer faces were attached I installed fancy minimalist drawer pulls which were specified by Tony. They looked really good but mostly disappeared under the bed.
Once all the parts were constructed I laid them all out on the floor of my shop and bolted them together. The headboard and the bed frame were bolted together with 1/2" nuts and bolts through the slab headboard and through the 2" bed frame board. The bed frame was screwed down into the drawer box through the maple supports. The assembly was checked and then taken apart.
The parts were delivered to the finisher in my truck. I was greatly relieved to be rid of the project as it was becoming all consuming. I was also several thousand dollars over budget so seeing it depart was a great relief.
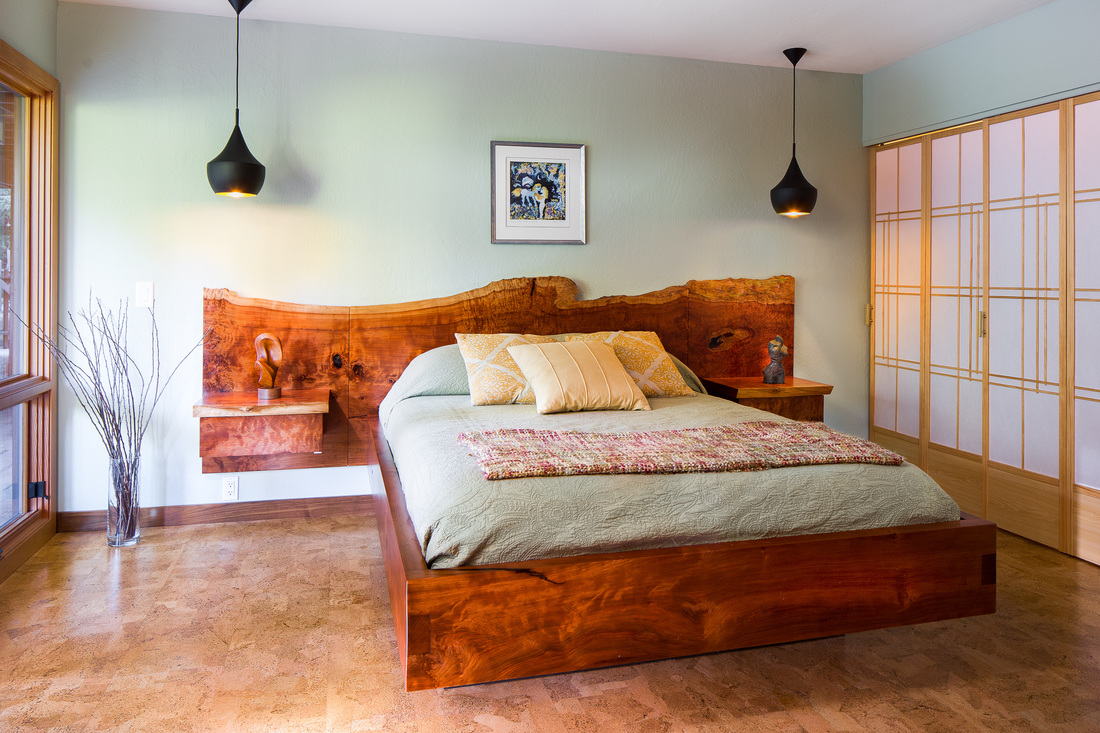
The Finisher was really good at what he does. The bed was finished in a timely manner and then delivered to the client. There was some post delivery electrical work to be done by Tony. Finally a photographer was called in to take pictures and Vwala, here is the image of the log become a bed.
 RSS Feed